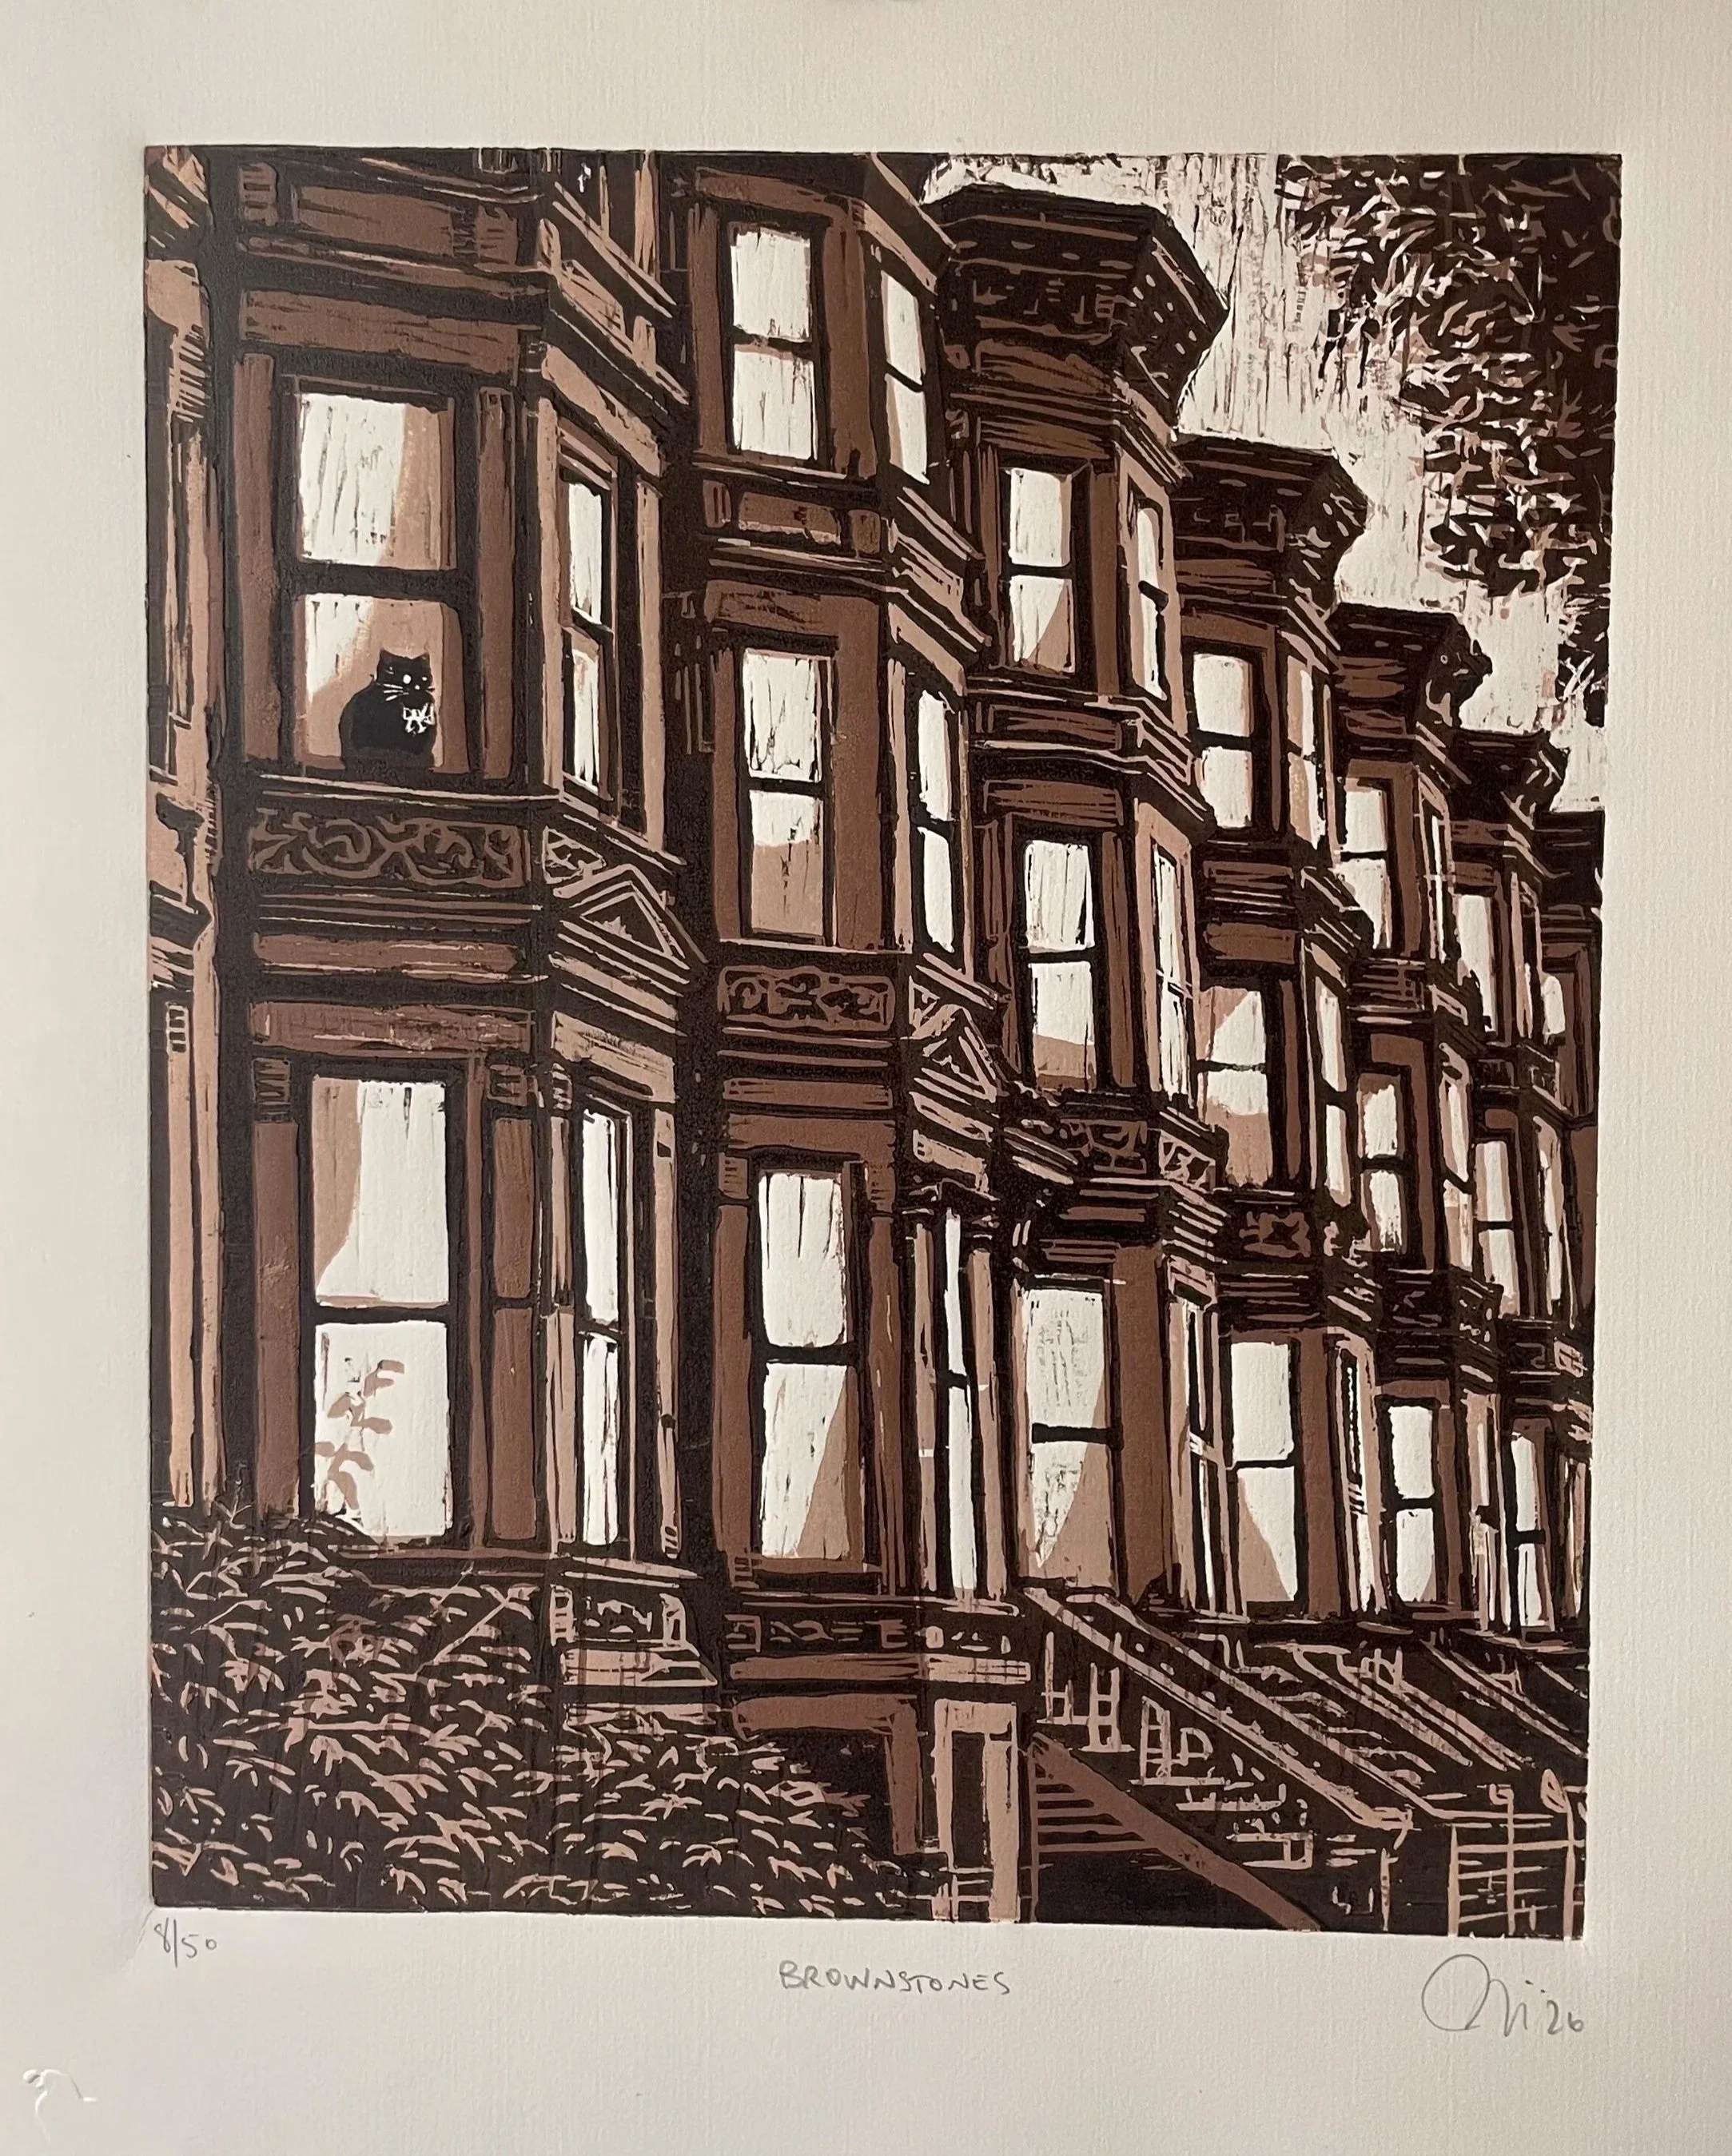
The Making of “Brownstones”
Many people may be familiar with woodblock prints and how they’re made. If you’re not, I recommend you read my article from January, “What is a Woodblock Print?”
It may not be obvious that woodblock prints that include multiple colors require a dedicated block be carved and printed for each color used.
The First Layer
I transferred my original drawing onto three woodblocks (1/2” thick Birch plywood) On the first block, I carved and removed the wood of all the areas I’d like to be white (of whatever the color of the paper is).
I then chose the lightest color I’d like to use for my print and rolled the ink on the woodblock, and sent it through the press. All this was done marking exactly where the image should print on the paper.
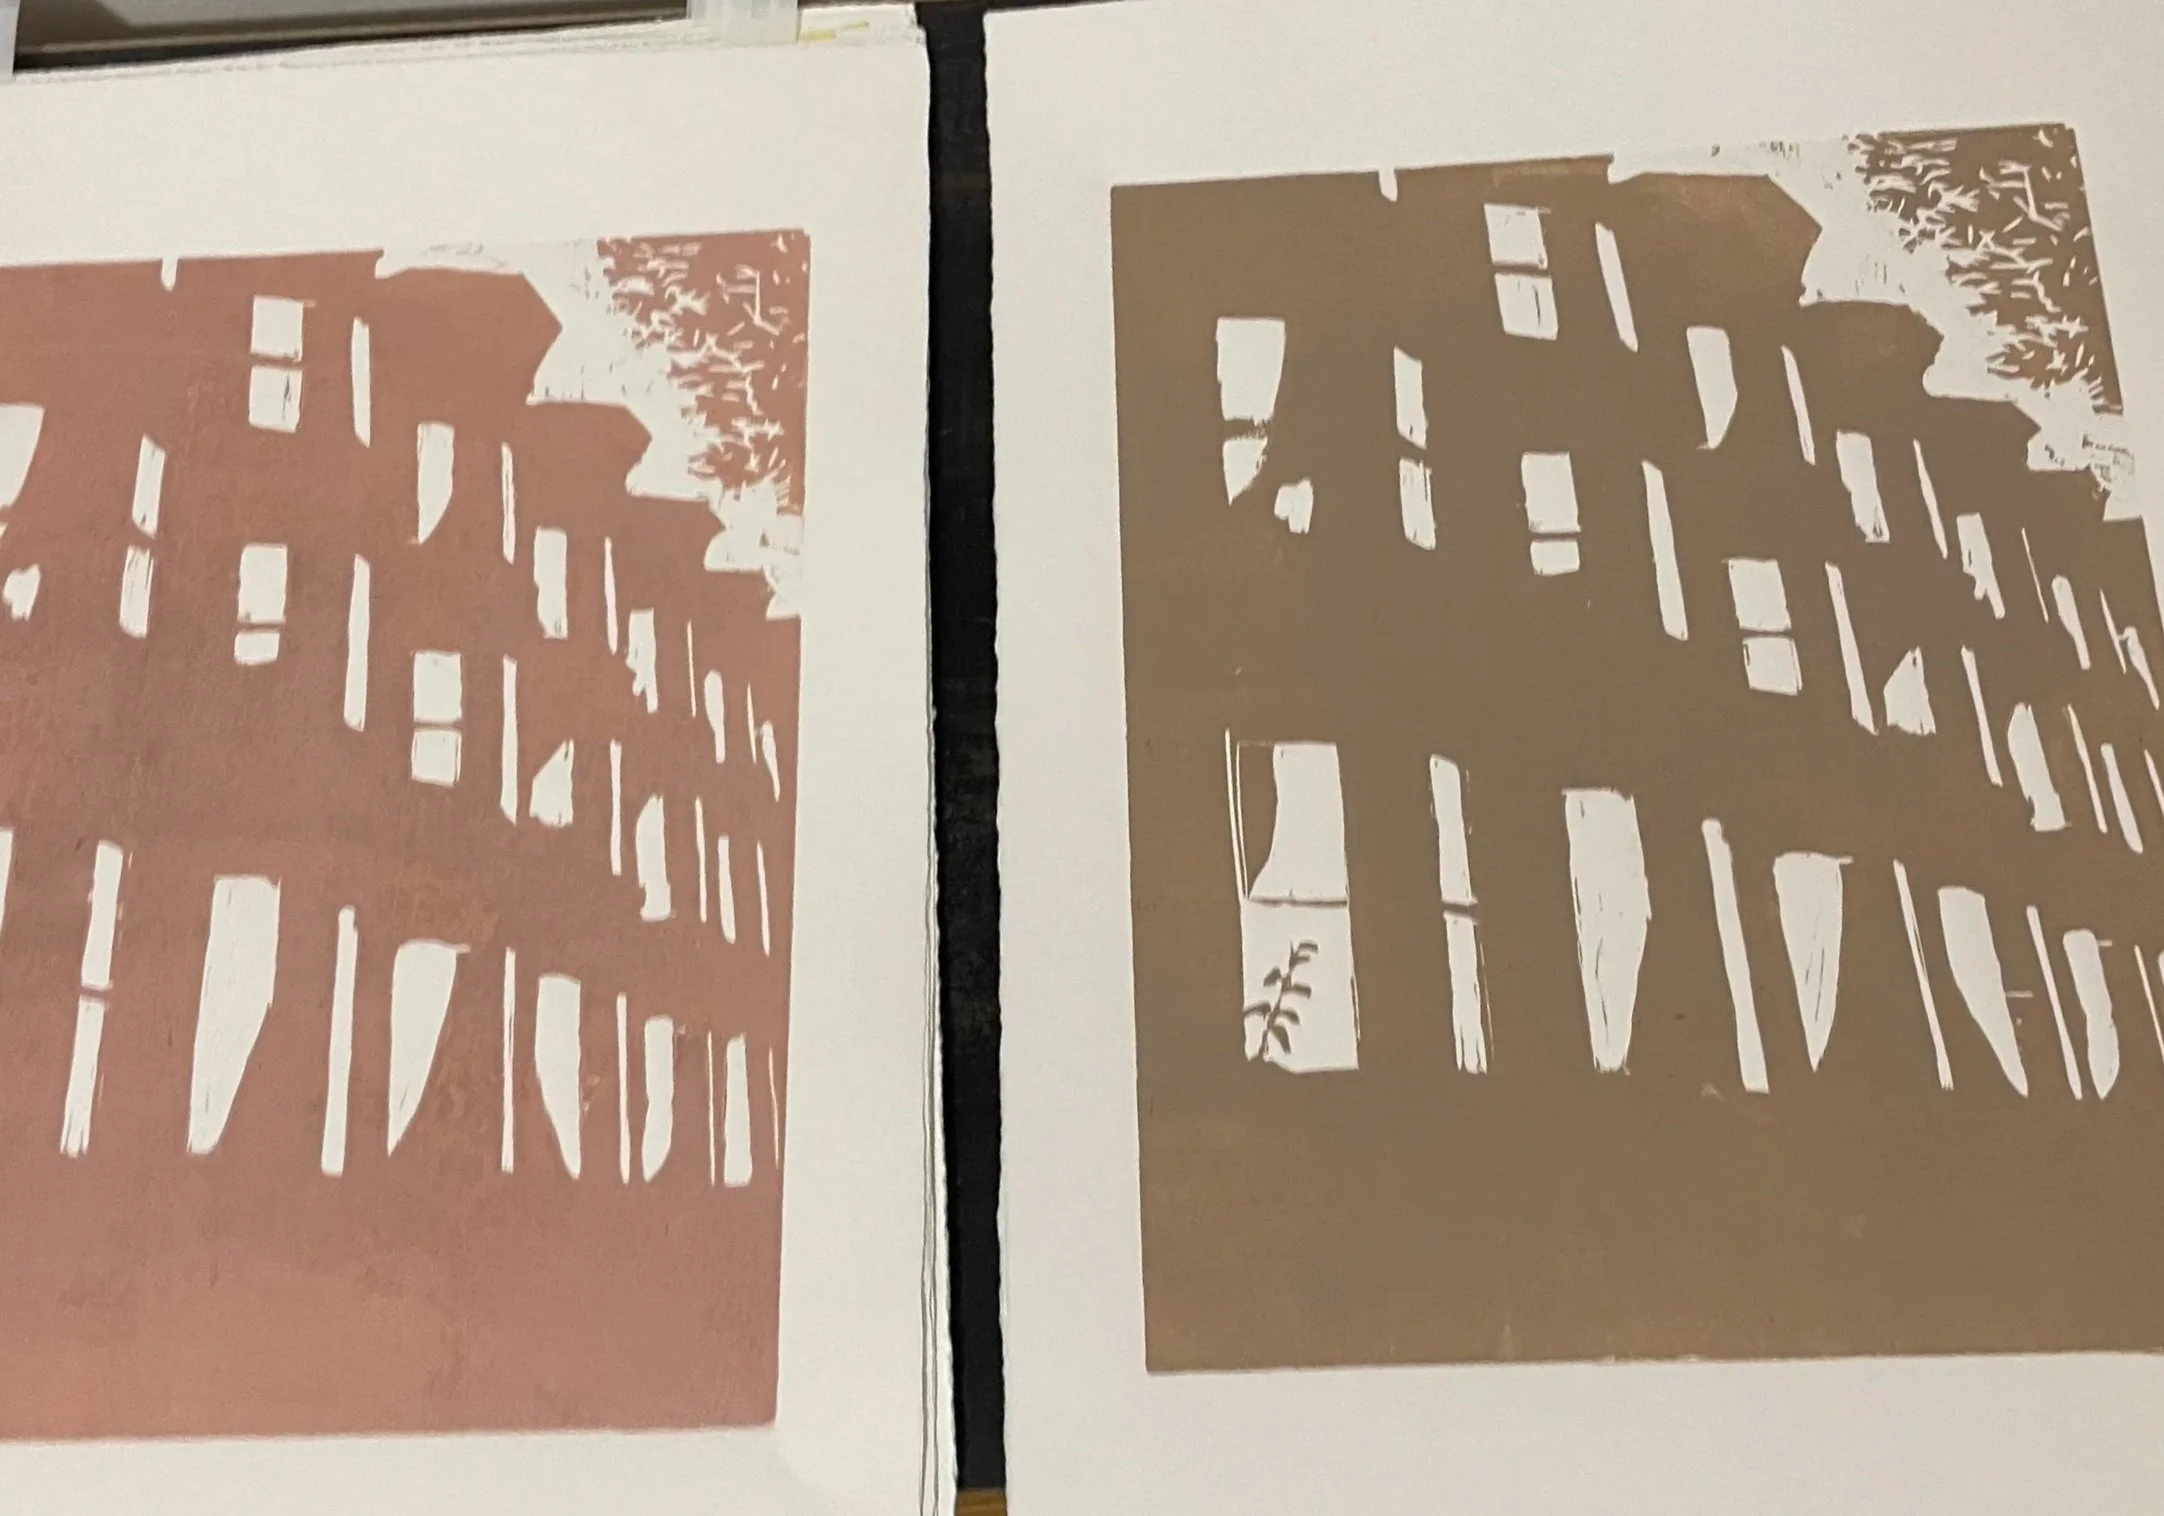
The Second Layer
For the second block, I carved away everything that should be white (or the paper color), as well as everything that should remain the lighter color.
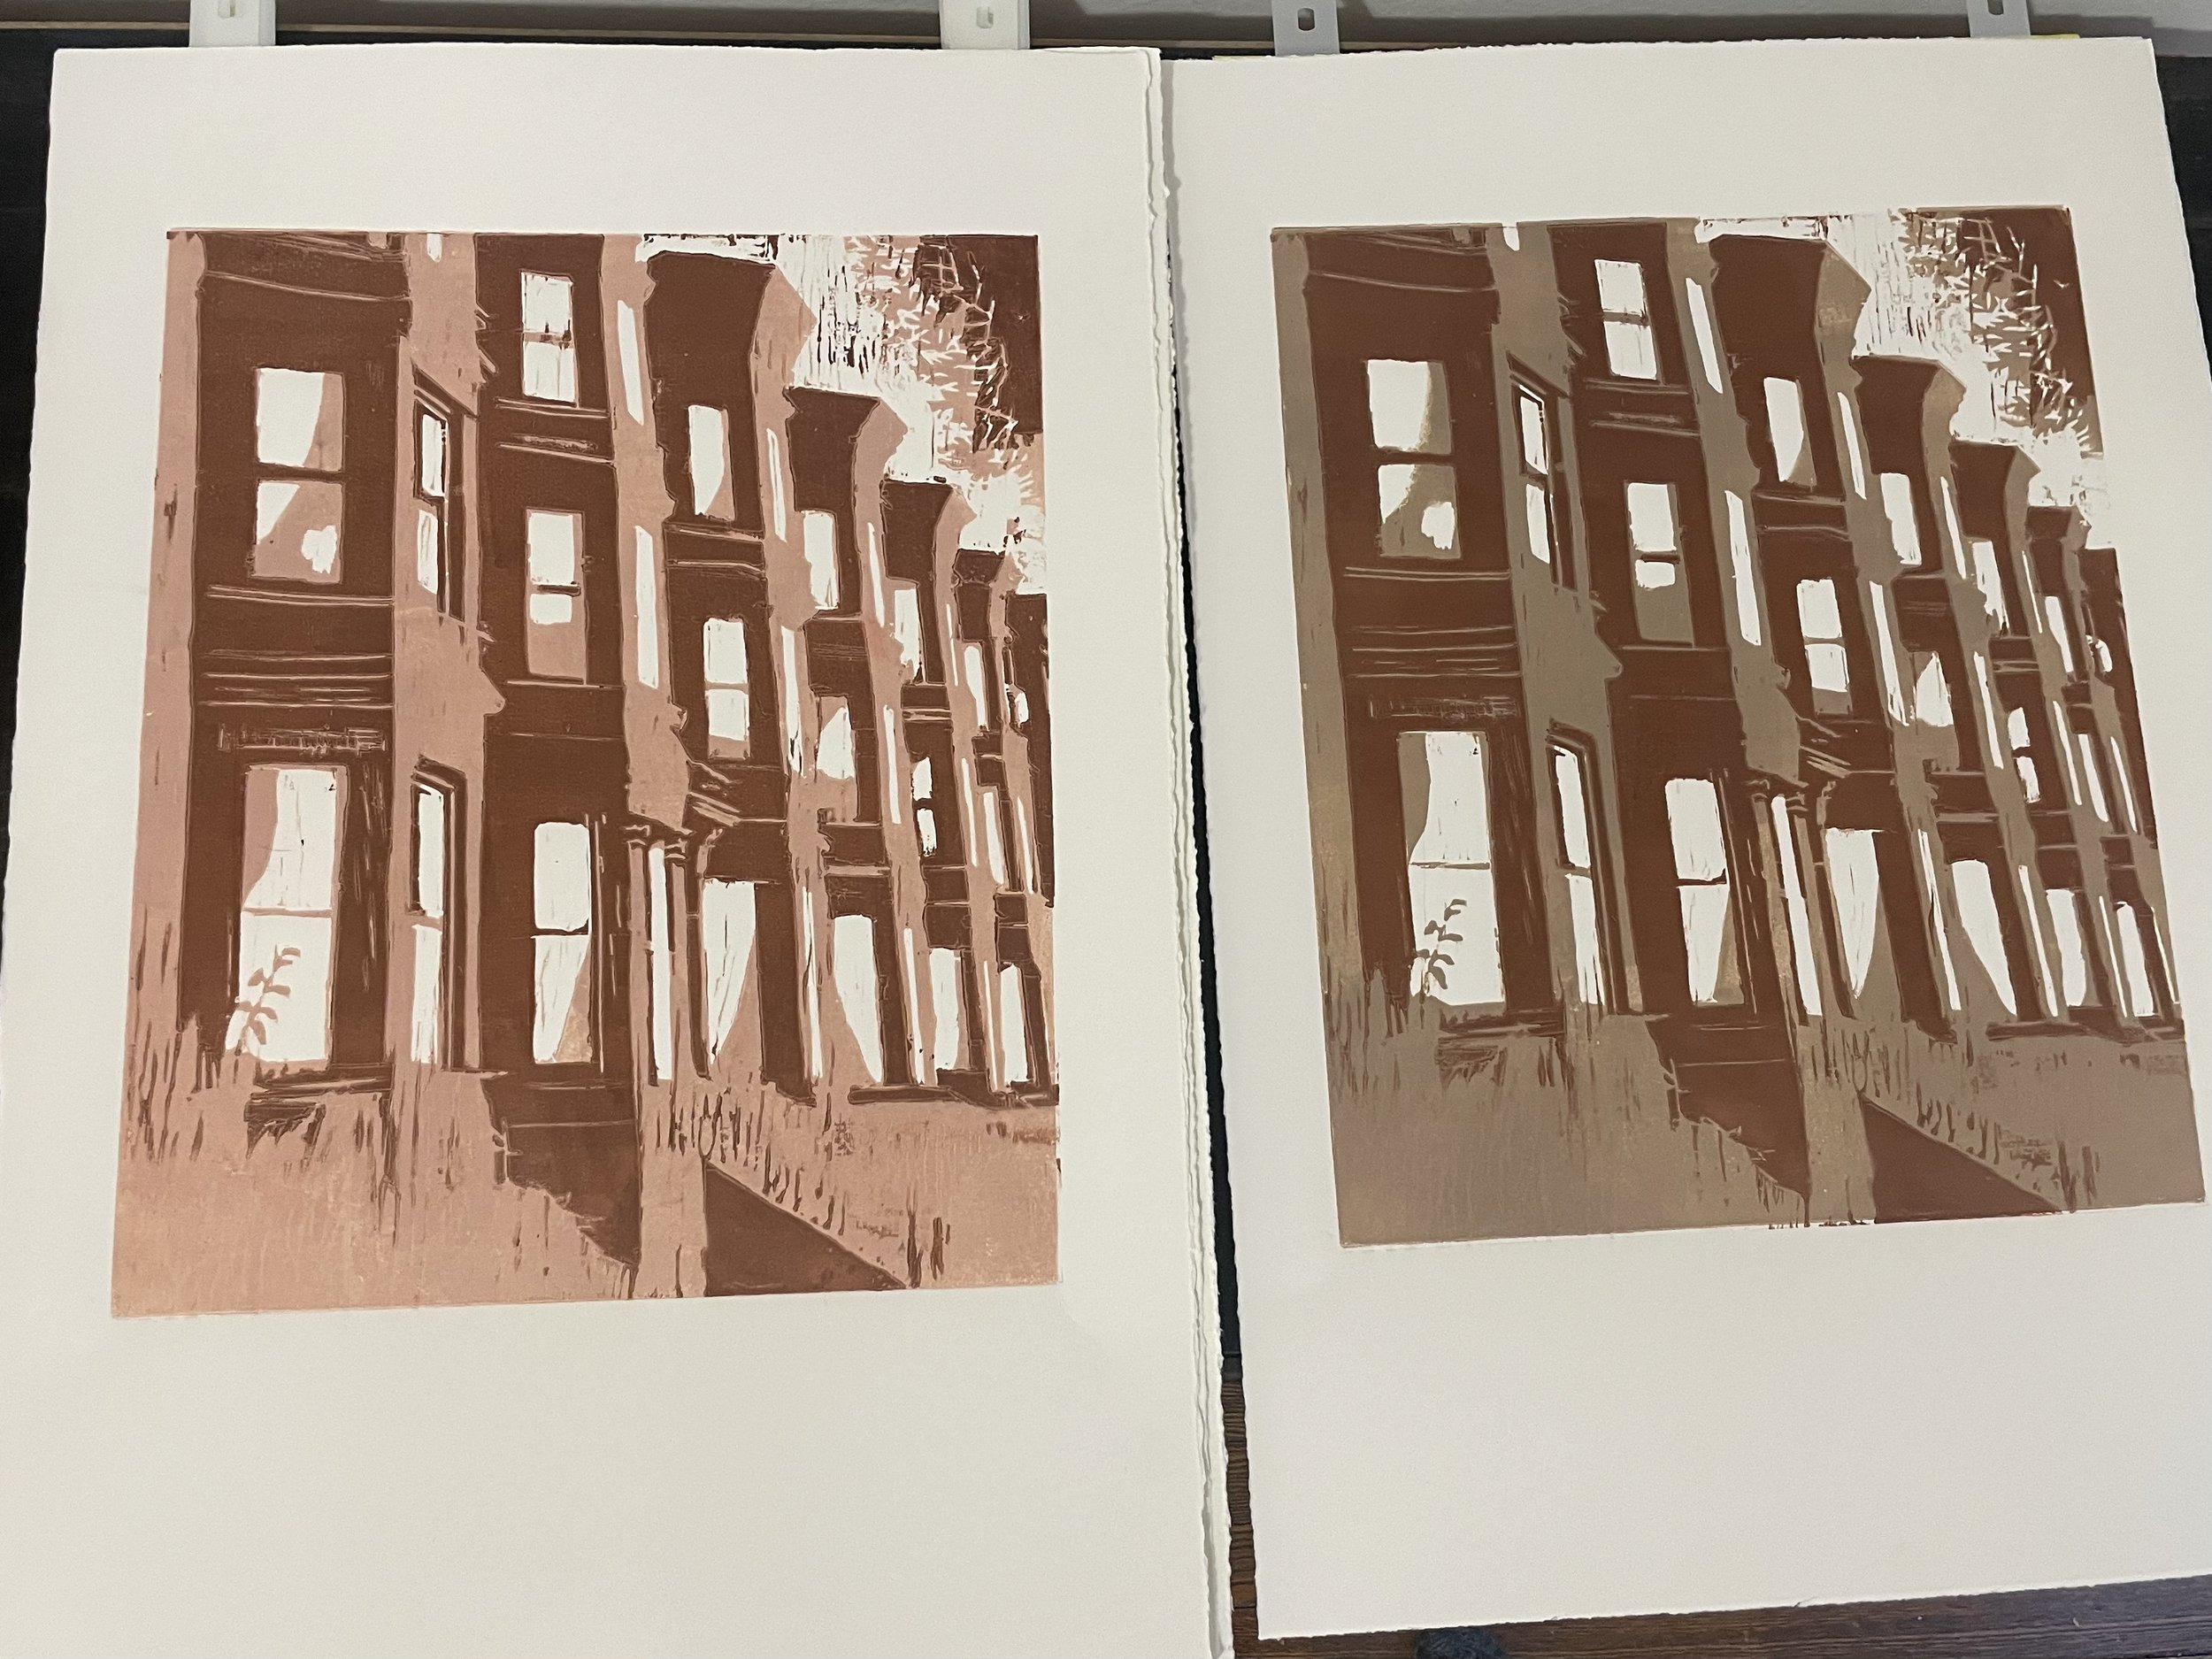
The second block prints the next darkest color, and since it’s darker it will cover the first layer’s (lighter) color, thus not requiring additional carving.
The Last Layer AKA The “Key Plate”
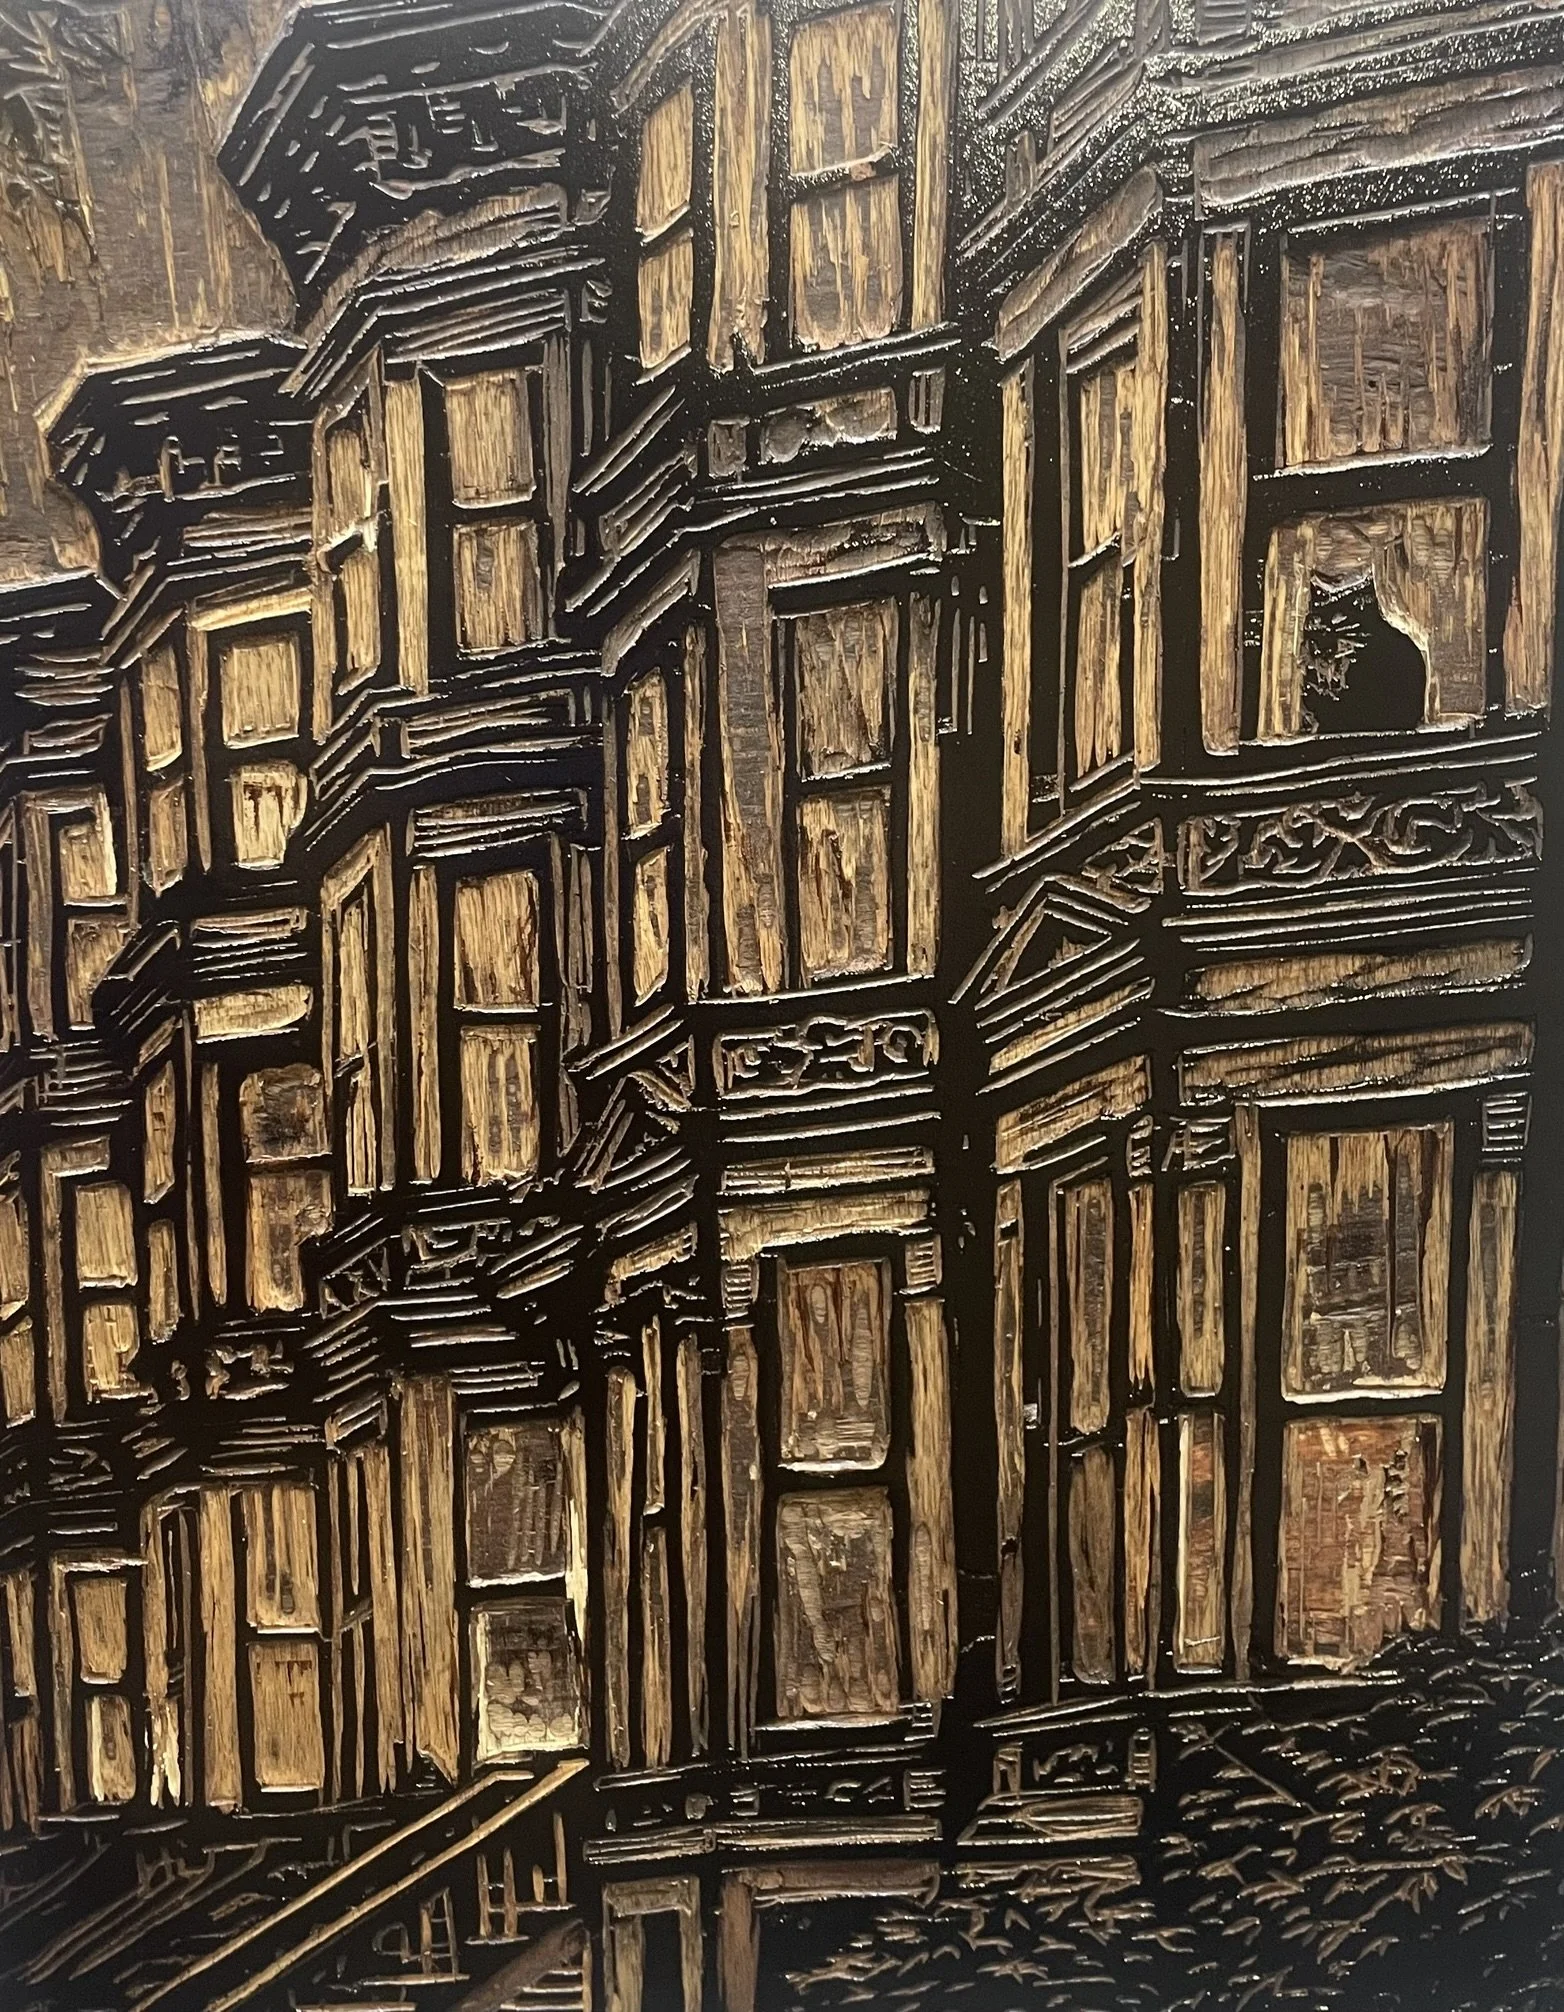
Now for the final block; this layer is the darkest color in the image. The last layer is commonly referred to by printmakers as the “Key Plate” This last layer tends to lock everything together tying the layers together visually. This plate (block) usually contains line-work, details, and gives the image the contrast is needs to come alive.
When carving this block, one removes the wood in the areas that are to remain white, the lightest color, and the darkest color. The key plate requires the most carving.
Additional thoughts
This print was, at this point, the most ambitious woodblock print of my career. The reality of creating a multi-color woodblock is, you don’t really know what you have until you print it.
The creation of a work like this requires each layer be printed in order to see how the image “reads”. This is a time consuming process, however each proof is an educational tool, a guide that helps one see what should be carved, and brings one closer to achieving the desired result. An additional challenge to this technique is wet ink. Printing a block onto a layer that has not dried can muddle and mix the two inks making it hard to distinguish how the layers are articulated in the image. For best results each layer should be allowed to dry before the next layer is printed.
All of this is to say, this piece was a serious challenge. It was six weeks of carving and printing before I achieved a result I was happy with. There were times along the way where I felt lost in the work and doubted if this would come to fruition. I trusted my experience and plan and am happy I did. I am very proud of this one, and plan to create a companion piece later this year that would look great hanging beside this one as a diptych.